Introduction
Who doesn’t love the irresistible crunch of potato crisps?
They’re a favorite snack for children and adults alike.
However, buying crisps from the store can be quite expensive, especially in today’s economy.
But did you know you can easily make them at home with just a few potatoes and basic kitchen tools?
In this recipe, I’ll show you how to make crispy, golden potato crisps that are not only delicious but also cost-effective.
With just two to five potatoes, you can whip up a large batch of homemade crisps that your family will absolutely love.
Let’s dive into this easy step-by-step guide to making homemade potato crisps that taste even better than store-bought ones!
Why Make Crisps at Home?
Homemade potato crisps have several advantages over store-bought ones:
-
Cost-effective:
A small number of potatoes can yield a large serving.
-
Healthier:
You control the ingredients, ensuring there are no unnecessary preservatives or additives.
-
Customizable:
Adjust seasoning and flavors to your liking.
-
Fun to Make:
It’s a great activity to do with kids and family.
Crispy & Crunchy Homemade Potato Crisps Recipe – Quick & Easy!
Equipment
- A sharp knife or a vegetable peeler
- A large bowl
- Paper towels or a clean kitchen towel
- A frying pan or deep fryer
- A slotted spoon
Ingredients
- 2 to 5 large potatoes (or more, depending on the serving size)
- Vegetable oil
- ¼ tsp. salt (adjust to taste)
Instructions
- Preparing the PotatoesStart by peeling the potatoes thoroughly. Rince them in clean water.If you have a vegetable peeler, use it to get uniform slices quickly. However, if you don’t have one, a knife works just as well. Simply slice the potatoes as thinly as possible. The thinner the slices, the crispier the final product!If your children are old enough, they can assist in peeling the potatoes—making this a fun family activity.
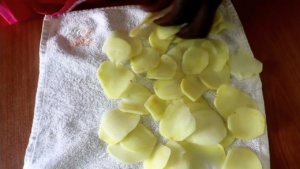
- Rinsing and Drying the SlicesOnce all the potatoes are peeled and sliced, place them in a bowl of water. This helps remove excess starch, which prevents them from sticking together when frying.For best results: Rinse the slices 2-3 times until the water runs clear. Drain them and transfer to a strainer or colander. Use a clean kitchen towel to pat them completely dry, removing as much moisture as possible ensures the crisps turn out extra crispy!
- Heating the OilPour enough oil into a frying pan or deep fryer so that the crisps can be fully submerged. Heat the oil over medium-high heat. To test if it’s ready, drop a small potato slice into the oil. If it starts sizzling immediately, the oil is at the perfect temperature for frying.
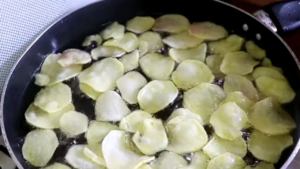
- Frying the Potato SlicesNow, it's time to fry the potato slices! Carefully drop a handful of potato slices into the hot oil. Avoid overcrowding the pan, as this can lower the oil temperature and make the crisps soggy instead of crunchy. Stir occasionally to ensure even frying. Watch for the oil’s bubbling pattern. When the bubbling slows down, it’s a sign that the crisps are almost done. Once they turn a light golden-brown color and feel firm and crisp, use a slotted spoon to remove them from the oil.
- Draining Excess OilAfter removing the crisps, place them on a paper towel-lined tray. This will help absorb any excess oil, keeping them light and crunchy.
- Seasoning the CrispsWhile the crisps are still warm, sprinkle them with salt. Be careful not to over-season—start with ¼ teaspoon and adjust according to your taste. For variety, you can add other seasonings like:Paprika for a smoky flavor Garlic powder for a savory twist Chili powder for a spicy kick
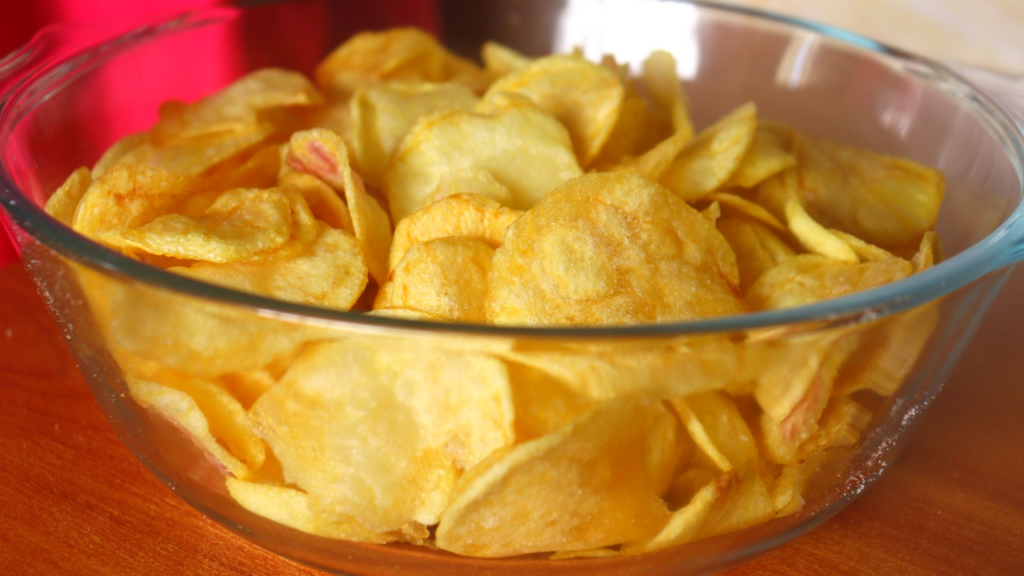
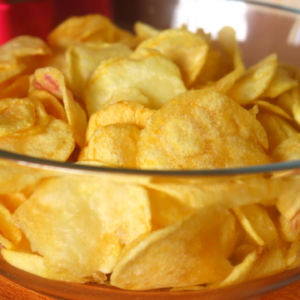
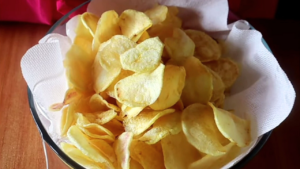
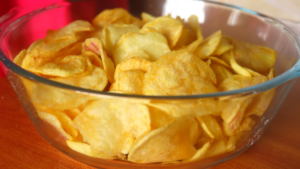
- Serving and EnjoyingYour homemade crisps are now ready to be enjoyed! Serve them fresh, either as a snack on their own or as a side dish. They’re perfect for kids, guests, or even as a party treat.
Video
Notes
Storage Tips
If you have leftovers (which is unlikely because they’re so delicious!), store them in an airtight container to keep them crispy. They should stay fresh for up to 3 days.Frequently Asked Questions
-
Can I make these crisps in an air fryer?
-
What’s the best type of potato to use?
-
Can I bake these instead of frying?
Final Thoughts
Making homemade potato crisps is not only easy but also rewarding. With just a few ingredients, you can create a delicious, crunchy snack that’s both budget-friendly and healthier than store-bought options. Your kids will love them, and you’ll have peace of mind knowing exactly what’s in your food. Give this recipe a try, and let me know in the comments how it turned out! Don’t forget to check out more simple and delightful recipes on my blog. Until next time, happy cooking! If you enjoyed this recipe, share it with friends and family. Also, don’t forget to subscribe to my blog for more delicious homemade recipes!Recommended:
No-oven Stovetop Gluten-free Gram Flour Cookies
No-oven Stovetop Gluten-free Corn Flour Cookies
Easiest No-oven Granola Recipe
Basic No-oven Cake Recipe on Gas
Fermented Porridge Recipe the Natural Way
No Oven 2-ingredients Roasted Groundnuts Recipe
Easiest 4-ingredient Mandazi on a Budget Recipe| Kenyan Mandazi
Cold Water Chapati Recipe| Kenyan Roti
Best Rabbit Meat Wet Fry Recipe