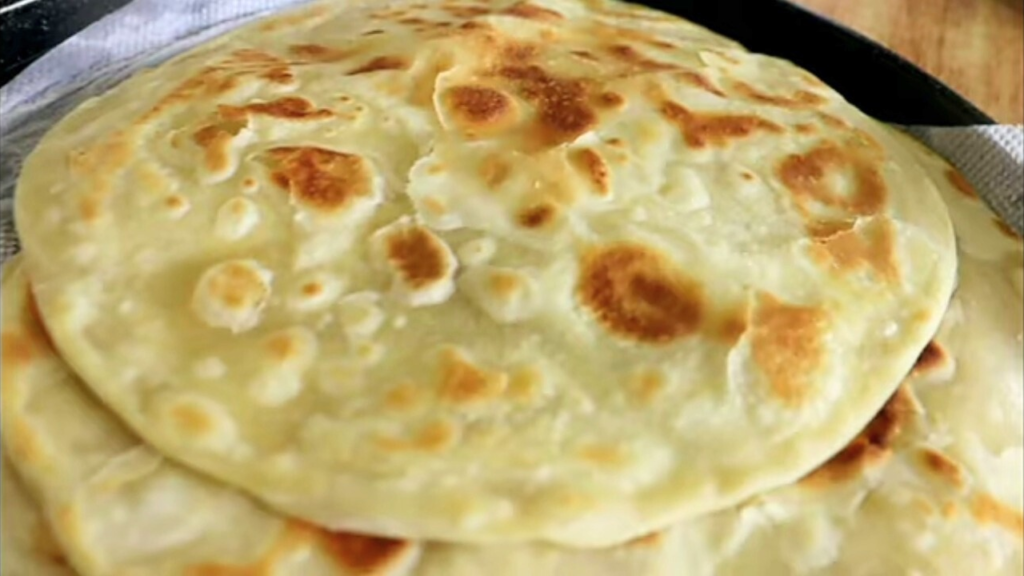
Chapatis, also called roti, are some of the easiest breakfast recipes to make at home. Bringing together the ingredients is also quite easy and fast.
Chapatis consist mostly of 4 ingredients – Wheat flour, water, salt, cooking oil, and sometimes sugar.
Today’s very soft chapati recipe is slightly different because it is enriched with ingredients that make it more nutritious and healthy.
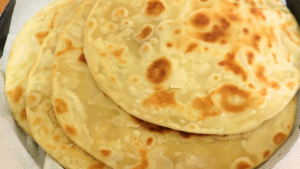
When is it best to serve chapati?
Chapatis are not only suitable for breakfast, they can also be served as a main meal that goes very well with a stew or gravy of choice. We love them for our dinner and also for our lunches.
They can be turned into a delicious roll with a filling of choice.
In short, chapatis or roti are very versatile as a meal.
Chapatis are a delicacy in the part of the world I come from. You will not fail to find them listed as part of the menu for various celebrations and occassions.
As a breakfast recipe, I love to enrich them with a protein, making them a healthy and more nutritious option for the day’s first meal.
Budget-friendly enriched roti or Chapati
Our Enriched milk chapatis fit the bill of a healthy nutritious breakfast. The ingredients are readily available. They might even be in your pantry already.
Roti tend to be budget-friendly too and fairly affordable.
If you’d love a simple chapati recipe for your lunch or dinner, you can try our popular Soft cold Water chapati recipe that you can find here. This roti recipe is very basic yet very soft and delicious too.
For breakfast though, we want our chapati or roti enriched. You can even add an egg or two to increase the protein content.
What ingredients make up our enriched chapati recipe?
We will need these 6 ingredients:
All-purpose flour
I work with any good quality all-purpose flour.
Salt
To enjoy your chapati, don’t leave out the salt. Salt gives your roti a delicious balanced taste that you will enjoy.
Sugar
Sugar gives a sweet taste to the chapatis. You can reduce the sugar further or substitute it with honey. In this case, use 1 teaspoon of honey instead of sugar. Also, because sugar is not one of the main ingredients, you can work without it. If you do, increase the salt by a third of a teaspoon.
Marge or butter (Melted)
Now that this is a budget-friendly recipe, I’m using margarine. You can use butter as well.
The marge or butter causes your chapati to have a unique richness and softness you will enjoy.
To melt the marge or butter, prepare a water bath by boiling water in a saucepan. The water should be about halfway or slightly less in the pan so it doesn’t get into the marge or butter while it is melting. Transfer the marge you need to a suitable little bowl that is a good conductor of heat. Place the little bowl in the hot water. The butter will begin to melt. Occasionally swirl it around in the little bowl gently until it has all melted.
Alternatively, transfer the marge/ butter to a microwave-friendly suitable bowl. Cover it and microwave it for 20 seconds. If some hasn’t melted, swirl it around for a minute or so. It will all melt.
Milk
Milk will make your chapatis healthier, softer, and more nutritious.
Cooking Oil
You will need some cooking oil for the final step of shallow frying the roti. A good quality cooking oil for frying is okay to use. It gives the chapatis that final crisp yet soft feel after frying.
I trust you will enjoy these soft tasty enriched chapatis that we have been enjoying especially for our breakfast.
Soft, Enriched, Layered Milk Chapatis Video is Available too!
We have the video version of this tutorial linked at the tail end of this tutorial.
If you’re having trouble understanding any of the steps, the YouTube video tutorial will be very helpful.

Now that we have our ingredients, let’s dive into the step-by-step process of making the softest, enriched chapatis with milk.
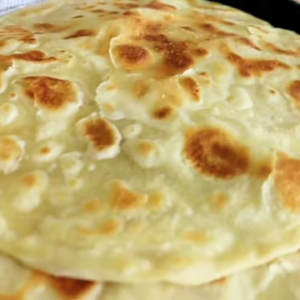
Enriched Soft Milk Chapatis| Roti Recipe for Breakfast
Equipment
- 1 roti/ chapati pan
- 1 Rolling Pin
- 1 Mixing Bowl
- 1 teaspoon
- 1 Tablespoon
- 1 turner (Optional. You can turn the chapatis with a tablespoon if you dont have a turner)
- 1 Wooden Spoon
Ingredients
- 1 cup room temperature milk
- 1 &½ tsps heaped then melted marge or butter (Work separately with one tsp first. The ½ tsp will be used later in the recipe)
- ⅓ tsp salt
- 1 tbsp sugar
- 2 & ½ cups all-purpose flour (Could be slightly more or less)
- Some cooking oil to fry.
Instructions
- Begin by adding the milk, a teaspoon of the melted marge or butter, salt, and sugar to a suitable bowl.Use a wooden spoon to stir the mixture. Do not worry if all the sugar and salt doesn't dissolve now that the milk is at room temperature.
- Begin to add the flour to the mixture. First add 2 cups of flour and mix with your hands.Add the remaining flour, a little at a time, mixing with your hands until you get the mixture to a soft sticky dough. Depending on the brand of flour you're using, you may use slightly more or slightly less.Once all the ingredients are well mixed, gather the dough into a ball in your bowl. Cover the bowl with a clean kitchen towel and allow it to rest for 20 minutes. This rest time allows the flour to relax. It becomes softer, stretchy, and easier to work with when you let it rest.
- After 20 minutes, transfer the dough to a lightly floured surface.Knead the dough for 5 minutes.
- Next, roll it out into a rectangular shape that is about a centimeter or less in thickness.
- Apply the remaining melted marge or butter (half tsp) onto the surface of the rolled out dough until evenly spread.
- Begin to fold in the melted marge/butter along the length of the dough. Fold rather tightly until you get to the edge.Pinch off the edge with your fingers to keep the melted marge or butter sealed inside the dough, forming a ropelike shaped dough.
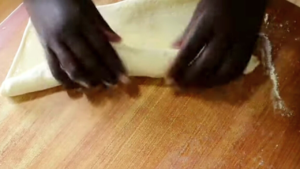
- Divide the dough into 5 to 6 equal pieces (If you are using a pan that is 11" in diameter. If it is smaller, you can reduce the size further.)You can use a knife to cut the dough and seal the ends of each piece with your hands as you cut. This is so the melted marge or butter remains inside each piece. I however prefer to use my hand to divide. I do this by holding the large piece between my thumb and index finger, ensuring that the part I want to cut is between these two fingers. I'll then squeeze the dough with the two fingers and cut it.I prefer using my hands because it's easier and it also partially seals in the marge or butter on both sides of the dough, making it easier for you to seal in the butter with your hands on the piece you've cut and the larger piece as you continue. The reason for sealing in the marge or butter is for the chapatis to form layers as they fry.So keep cutting until you have your pieces ready.
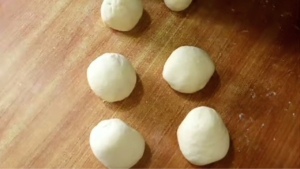
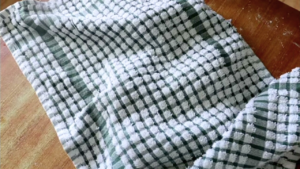
- This step is optional but you can cover the pieces with a clean kitchen towel and allow them to rest for 10 minutes. If you dont have lots of time, skip this step and go to the next step.
- Place your pan on your stove and heat it until hot, not smoking hot.
- As the pan is heating, begin to roll the first chapati piece to a nice round shape that is slightly smaller than your pan in diameter to allow for even cooking and space to turn.Reduce the flame to medium or medium-low heat depending on the intensity of the flame.
- Place your rolled out roti piece onto the pan and let it fry for about 30 seconds or until it starts darkening slightly. Sometimes it will form slight air holes.Meanwhile, roll the next piece to be ready after this first one is done.
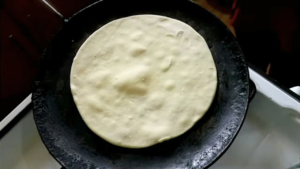
- Evenly apply a teaspoon of cooking oil on the surface of the chapati piece. Turn it over with a turner or spoon and let it fry for a minute or so.Keep swirling it around the pan every 20 or so seconds, lifting it slightly with your turner or spoon to ensure it's frying well without burning.You can also gently press it with the turner or spoon. This helps the chapati to puff up, making it fluffy too.
- After it has fried on the bottom side, (having those delightful golden patches on that side) before turning the roti, apply a second teaspoon of cooking oil on the surface and flip the roti piece so it can now fry on the opposite side for about a minute also.Keep swirling the piece around the pan like you did earlier. This also helps to ensure even cooking.
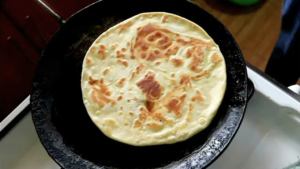
- Once it has fried to a delightful piece with golden patches typical of chapati, flip it and allow a few seconds just to be certain the opposite side has fried well too.
- Transfer to a suitable platter or serving dish lined with paper towels to drain out any excess oil.
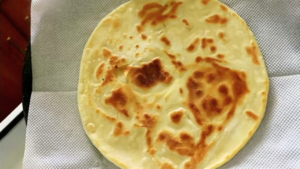
- Repeat the above process for the remaining pieces until they are all done.
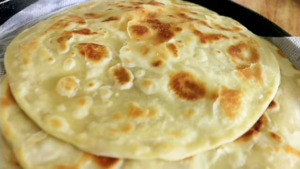
- Enjoy your delicious chapati with a favorite beverage or just as they are.You can also serve them with stew, curry, or vegetables.Chutney is also a wonderful side option to these soft buttery chapatis.Try the recipe and enjoy. Enhance your hospitality for the glory of God.
Video
Recommended:
Kenyan No-meat Pilau Recipe| Best Pilau Recipe
Pilau Masala Spice Recipe Without a Grinder
Easiest 4-ingredient Mandazi on a Budget Recipe| Kenyan Mandazi
Cold Water Chapati Recipe| Kenyan Roti
Best Rabbit Meat Wet Fry Recipe
Easiest No-oven Granola Recipe
Basic No-oven Cake Recipe on Gas

