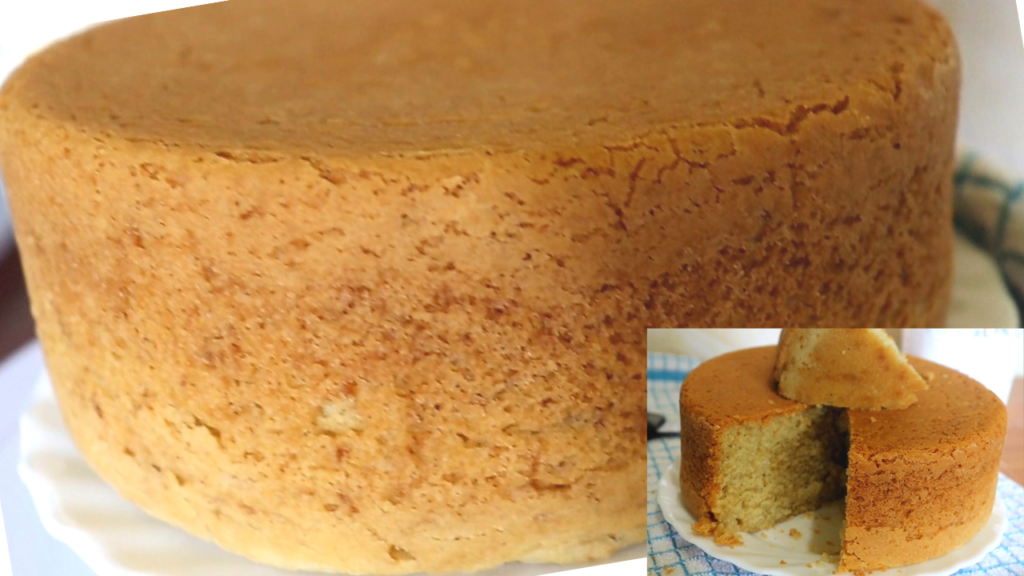
No Oven Baking
Learning how to make a delicious cake without an oven using just my gas stove was a gamechanger for me.
I still find it unbelievable that I’m even having this little spot on the internet; here and on YouTube, because I dared to share this seemingly nonsensical method of baking without an oven.
Yet it is so true that I’ve had the privilege of influencing many who never thought they could bake by simply sharing this easy way of baking without an oven on your gas stove or gas cooker.
An added blessing has been that this particular cake recipe I’m sharing doesn’t require butter, a mixer, or blender. (No long hours creaming!)
This is a no-bake recipe that will be ready to bake basically in minutes!
How I got to Learn this method
A few years ago, in the part of the world where I hail from, it wasn’t uncommon to find that a majority of the families could only afford a table gas stove that didn’t have an oven.
Most of these table gas cookers only had a small grill.
I hence grew up in an era where we had no access to an oven.
Baking a cake would be a fairly engaging process using a charcoal stove or jiko.
A cake was therefore reserved for special occasions such as birthdays or Christmas Day.
When my sister first discovered this way of baking as I’ll share in the instructions, I was blown away.
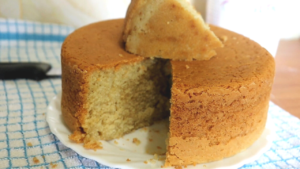
I couldn’t believe my eyes once she was done baking. The cake was actually cooked! It was soft and delicious.
Sharing the Easiest Way of Baking on Gas
The reason I shared this method, first on YouTube (and you can find the recipe here that happens to be my first recipe ever, to share with the internet. Never mind the akwardness in the video lol!) and now here, is because of the positive feedback I received from those I shared this way of baking and the recipe with.
This was actually long before some of the platforms on the internet ever existed.
Most of those who got to see me demonstrate firsthand were delighted to know that they didn’t need to wait for the day they’ll buy a stove with an oven. They could enjoy delightful no-bake cake recipes with a simple gas stove.
For several years after that, I baked my cakes this way, including up to an average of 10 cakes each month during my meal prepping.
Would you believe it that because I was so used to baking my cakes this way, I continued to bake them the same way even when I acquired an oven?
I used to imagine I’m using up more gas when I bake just one cake at a time in the oven.
I didn’t realize that God was providentially leading me this way to perfect this method so that I could eventually share it with confidence.
I still bake some of my cakes this way, especially if it’s one cake. I find it more economical that way.
I also developed this Cake recipe overtime, having a desire to tone down my ingredients without interfering with the delicious taste of the cake.
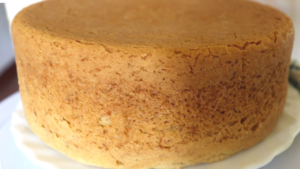
This has become my signature recipe that forms the base butter for many of my other kinds of cakes.
Even without a mixer or blender, the cake comes together so fast. You will be surprised that you will have the butter ready in 10 minutes or less.
About this Cake
I honestly think that this vanilla cake might be the easiest Vanilla Cake on the internet that you can ever bake.
It has the most basic of ingredients – 8 to be exact as you will see below.
You can even leave out the vanilla and the salt. I’ve tried that as well. I’m assuring you that even when you do, you will still love this cake. You will have to try this recipe to believe me. I really hope you will try baking it.
I trust you too will love this no-bake cake that has much less calories than your usual basic cake.
Let’s jump right into my very simple vanilla cake recipe without an oven baked on your gas stove or cooker..

No Oven Basic Cake on Gas Top – No Butter or Mixer
Equipment
- 1 fairly heavy 7" pan
- 1 Mixing Bowl
- 1 Wooden Spoon
- 2 lids
Ingredients
- 2 cups all-purpose flour
- 2 tsps baking powder
- ½ cup sugar
- ¼ tsp salt
- 1 egg
- ½ cup cooking oil
- 1 cup Milk
- 1 tbsp vanilla essence/ extract (Optional)
- 1 tsp marge/ fat to grease pan + a little flour to dust it
Instructions
- Step OneBegin by evenly combining all the dry ingredients in a suitable bowl.
- Step TwoIn another mixing bowl, add and combine the eggs, the salad oil, the vanilla, and half of the milk with a wooden spoon until well combined.
- Step ThreeAdd the dry ingredients.Stir with your wooden spoon or whisk until well incorporated.Add the remaining milk, a little at a time, beating the mixture each time to form a smooth paste.
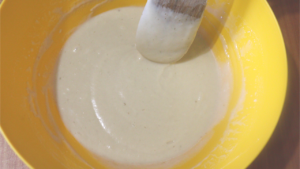
- Step FourGrease a fairly heavy pan, about 7’’ in diameter. Dust it too.Pour in the butter.You can also swirl the pan on a flat surface to evenly level out the butter while forming a slight well in the Centre.

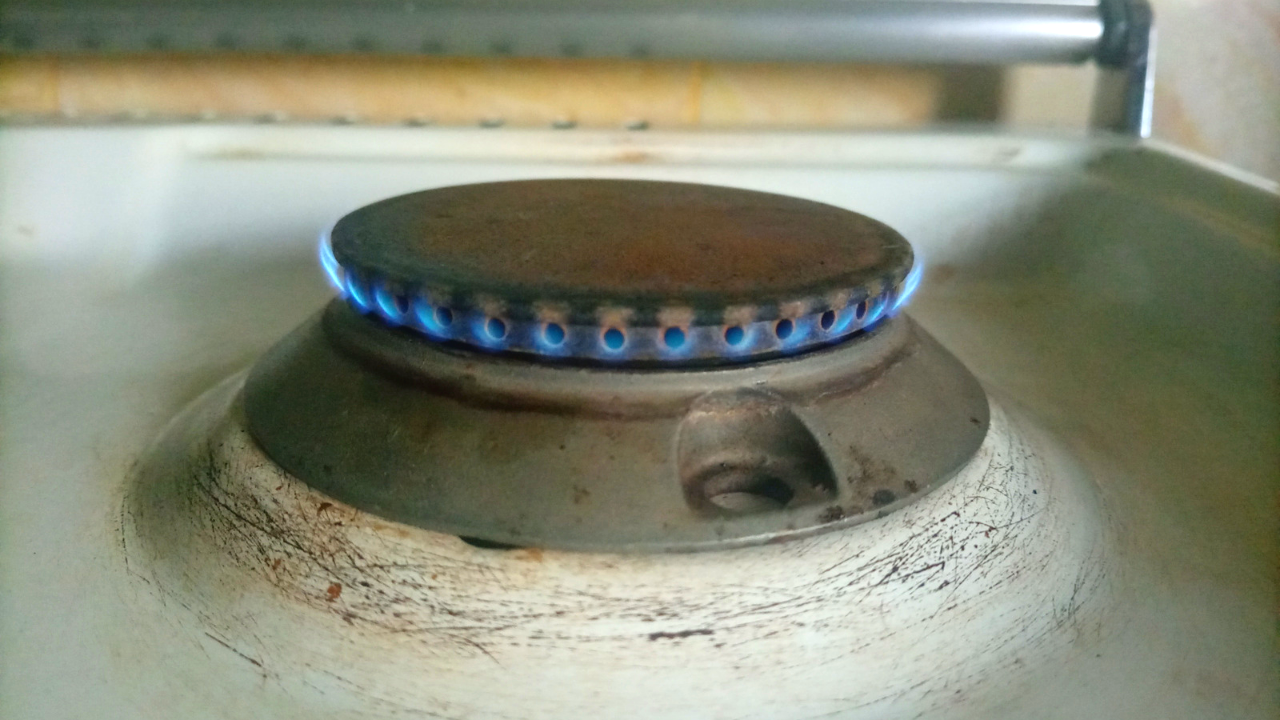
- Step fiveLight your gas stove or cooker to full flame.Place your butter on the lighted gas stove and allow it on full flame for about 30 seconds just to heat up the pan.Reduce the flame to the lowest by turning it slowly in the direction you take the knob when switching off. Reduce it to the lowest flame as shown in the picture.*Don’t reduce to the lowest as designed by your manufacturer. The lowest flame as designed for the gas stove is usually too high for your cake. The cake will burn before it’s ready.
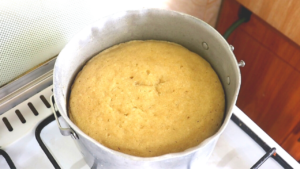
- Step Six:Let it bake for 50 minutes to an hour. It could take more or less time depending on your flame and size of your pan. A wider pan (more than 7 inches may take a shorter time and be shorter in height due to the wider surface area. This one baked for 50 minutes.A cake tester or knife should come out clean when inserted into the cake.You will notice that the top surface will still be a cream color. If this surface is firm with no wet butter, the cake is ready.
- Step SevenI like this cream surface to brown to a gold color even though it’s baked through.To do this, turn the cake over onto a clean lid. Now turn it over onto another lid to ensure the top creamy part is facing up again.Gently slide the hot pan back onto the cake to invert it back into the pan. The cream top part should now be inverted back into the pan.Return the pan with the cake back on to the low flame and let it bake for another 10 minutes to allow the creamy part to turn a golden color. After ten minutes, turn it over onto a clean lid or cooling rack.

- Step Eight:Your cake is ready!Enjoy your cake cooled with a suitable accompaniment.Enhance your hospitality for the glory of God.

Video
Recommended:
No Oven Stovetop Passion Fruit Cake
No-mixer Cream Cheese Frosting
Fermented Porridge Recipe the Natural Way
No Oven Pan-baked Danish Cookies
No Oven 2-ingredients Roasted Groundnuts Recipe
Easiest 4-ingredient Mandazi on a Budget Recipe| Kenyan Mandazi

