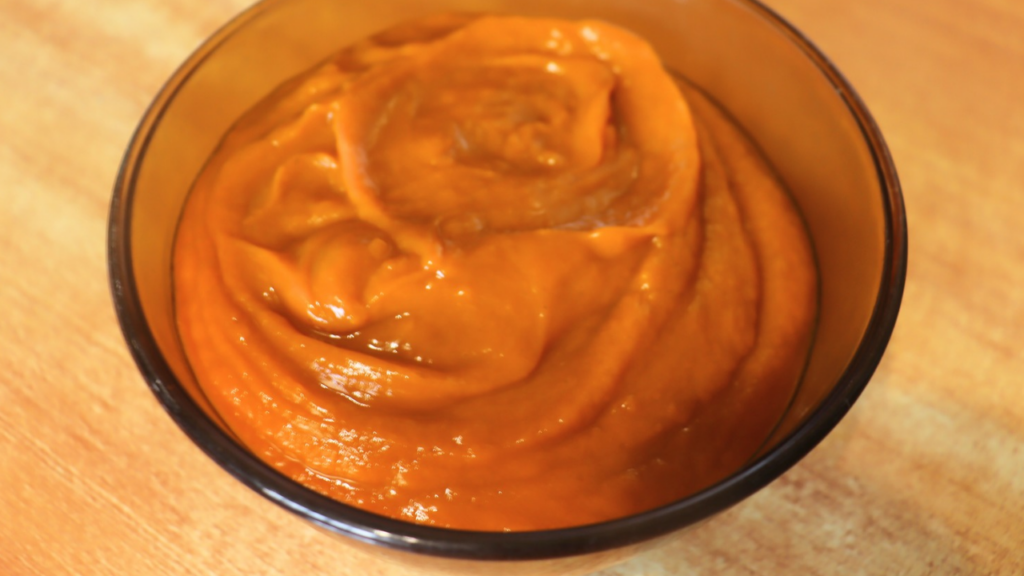
Time for some healthy delicious pumpkin puree, right?
Pumpkin puree is a versatile ingredient used in various dishes, from pumpkin pie to no-oven pumpkin cake like this one here to muffins, and pumpkin soup. Because of its roast flavor, I love to eat it as is, too.
Pumpkin puree is also a healthy ingredient. It is low in calories and fat and high in fiber and vitamins. It is a good source of vitamins A and C.
Traditionally, pumpkin puree is made by roasting a pumpkin in the oven. However, there is a much easier way to make pumpkin puree without using an oven.
Roast Flavor No-oven Pumpkin Puree
This method involves preparing it on your stovetop while still maintaining the roast flavor characteristic of roasted pumpkin puree. I show you how to do this in this easy step-by-step guide.
Knowing this method of making pumpkin puree without an oven helps especially when you don’t have an oven. In my country, many households do not have access to an oven. Your oven might be spoilt, or you just want to learn a new way of making pumpkin puree.
Once you have the pumpkin puree, you can use it to make your favorite recipes.
Storing Pumpkin Puree
If I have excess pumpkin puree, I store it in the fridge and use it within three to four days. You can also store it in the freezer to keep the pumpkin puree longer, even up to 3 months.
Pumpkin puree retains its texture and flavor after thawing. I like to divide it into smaller portions and store it in separate freezer-friendly storage containers to make it easy to use when I thaw some pumpkin puree. I don’t have to remove all of it from the freezer.
Now you know what to do with your pumpkin or pumpkins! Turn them into this versatile ingredient that will come in handy for a large part of the year.
I trust you will have fun using your no-oven stovetop pumpkin puree once you’ve made it using this easy pumpkin puree recipe.
No-oven Stovetop Pumpkin Puree
Equipment
- 1 wide pan
- 1 teaspoon
- 1 sharp knife
- Blender (If you don't have a blender you can use a fork)
- Suitable storage containers or bags
Ingredients
- 1 large pumpkin
- 1 tsp salt
- A little water
Instructions
- Cut the pumpkin in half and remove the seeds. Don’t get rid of the seeds. You can boil them separately and eat the inner part of the pumpkin seed. It is healthy too.
- Cut the pumpkin further into smaller chunks. Depending on the size of the pan, you’ll cook the pumpkin in 2 to 3 batches.
- Arrange the pumpkin pieces flat in the pan, ensuring they all fit without having a piece on another.
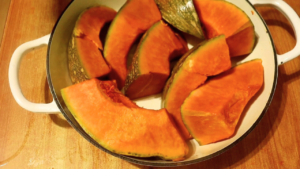
- Add ½ a cup of water to the pan.
- Cover the pan and cook on high heat until the pumpkin begins to simmer. Lower the heat to the lowest setting of your stovetop and boil until the pumpkin is soft.
- If the water isn't all gone, switch to high heat and boil until all the water is gone. If the pumpkin is the kind that releases lots of water, drain out the water instead.
- Continue cooking the pumpkin on medium-high heat until the part of the pumpkin underneath turns a golden color. This is what will give the pumpkin its roast flavor and delightful golden color. Switch off the flame.
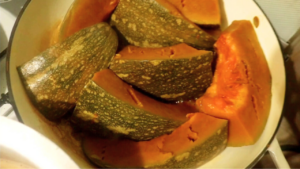
- Allow the pumpkin to cool and transfer to a suitable tray/ platter.
- Do the same with the remaining pumpkin pieces. If you are using the same pan, you may need to wash it now that we let the previous pumpkin pieces roast on the pan.
- Now scoop out the pumpkin flesh from the outer covering and transfer it to a blender. Don’t overfill the blender, fill it up to half. The pumpkin is heavy. If too much of it is in the blender you won’t be able to blend it effectively. The process will be slower.
- Because we want our pumpkin puree thick, we will only add about ¼ cup water. (If necessary, add more water or milk to the blender to reach your desired consistency)
- Blend at intervals of 20 seconds, turning the pumpkin with a spoon if necessary.
- Once the pumpkin puree is nice and smooth, transfer the puree to a suitable dish. Blend the rest of the pumpkin the same way until you have all your puree done and ready.
- Serve immediately or store in an airtight container in the refrigerator for up to 3 days. You can also store in the freezer if you want to use it later as explained earlier.This no-oven pumpkin puree is just as delicious as the traditional oven-roasted version. So next time you need pumpkin puree, give this no-oven stovetop method of making pumpkin puree a try! Enhance your hospitality for the glory of God.
Video
Notes
Tips for Making Pumpkin Puree:
- You can also cook the pumpkin in a pressure cooker. It will take a shorter time. However, this method will not give you the roast flavor you’d like in your pumpkin puree.
- To make sweeter pumpkin puree, you can add some honey or maple syrup to the blender.
- Once you have made your pumpkin puree, there are endless possibilities for what you can do with it. Here are a few ideas:
- Use it to make pumpkin pie, pumpkin muffins, or pumpkin cake.
- Add it to soups and stews. I especially like some in beef stew if I want to thicken it. Don’t add too much though. It will taste more pumpkin puree than stew.
- Make pumpkin sauce.
- Make a pumpkin spice latte.
- Use it as a topping for oatmeal or yoghurt.

