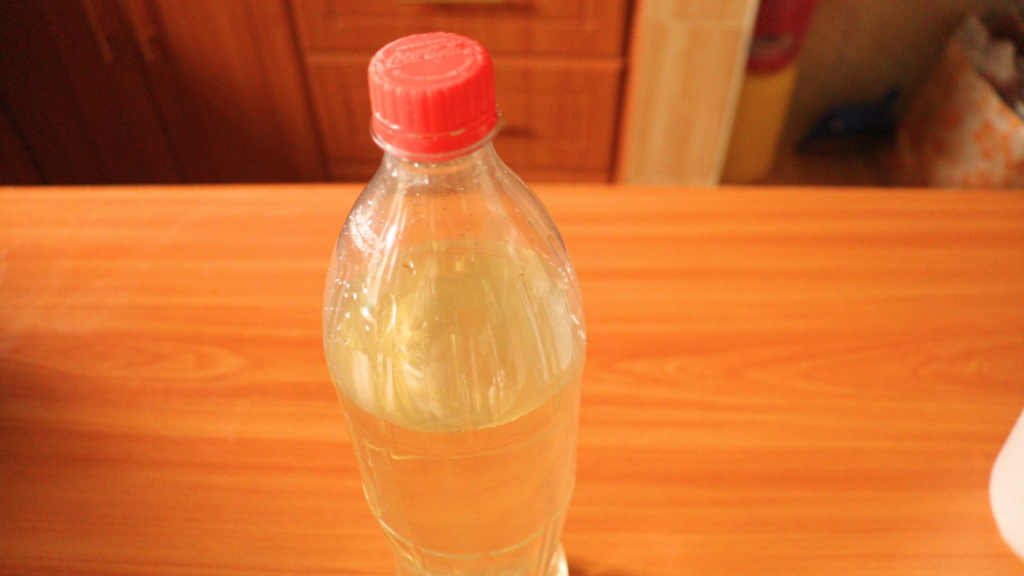
Even before the Industrial Revolution, God had already endowed the human race with creativity, skill, and know-how, to survive the harsh realities they faced from the world around them.
One of those realities was how to soften vegetables and hard meat to make them tastier and more palatable.
Musherekha
For centuries, the Luhya tribe in Kenya has used a natural food softener aka Musherekha aka Mukereka to soften tough vegetables.
Some also add Musherekha to free range chicken aka Ingokho, to soften it and make it tasty. Mukereka is also often added to beef during special occasions to give it a unique delightful taste.
This natural food softener is also added to various fish recipes such as deep-fried fish when turning it to a stew. This stew is just out of this world. It is so delicious! It’s actually my favorite way of preparing fish.
Kivambara/ Shivambala, (dried fish) as well as Omena are some of the fish recipes in the western part of Kenya that employ the use of Mukereka to not only soften the fish, the softener also works to enhance the taste and to reduce the sourness typical of fish prepared and preserved this way.
The Origin of Mukereka
I learned this invaluable skill from my mother who had, in turn, learned it from her mother, who’d, in turn, learned it from her mother… and the list goes on and on. It’s a skill that’s been passed on from generation to generation.
You will rarely lack Mukereka in a Luhya home or among the neighbours and relatives who’ll often graciously share whenever someone needs some.
One of the staple foods among the Luhya’s is ugali. Ugali goes with a wide variety of vegetables. Some of the veggies that are a delicacy in this tribe require Musherekha to cook them. Rikhuvi/ Rikuvi, (Cow peas leaves) Mutere/ Murere, Miroo/ mitoo, and Riseveve (Pumpkin leaves) are some of these.
Mukereka not only makes the veggies soft, it also enhances their taste and makes them very delicious. The wonderful thing too about using Mukereka in the vegetables is that they remain green and hence very appealing.
Making Musherekha is not Complicated
The process of making this natural food softener is fairly straightforward as you will see. I’m using an easily available raw material for this because beans are grown and harvested in many parts of the world.
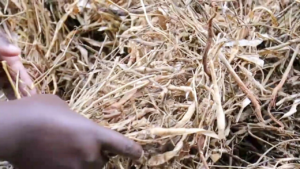
You can however use other raw materials that make a natural food softener the same way such as raw banana peels. These, however, can take a while to dry. The food softener made from banana peels is also very effective. Others have used groundnut hulls or shells too.
Knowing how much to use
We learned to use this natural food tenderizer by eyeballing. Now, that is not very helpful, right?
I’m going to be sharing various recipes where I have used this natural food softener and I’ll link them here.
But as a general guide, I use about a third to half a cup of the natural food softener when cooking kienyeji (indigenous free range) chicken depending on the size of the chicken.
For that occasional taste in meat, I may add about ¼ cup to a kilogram of meat.
For fried tilapia that I’m turning to a stew, I often add about quarter cup to a third cup depending on its size.
For vegetables that I can gather together in my hands, (typically, when sold at the supermarket, this is equivalent to two batches) I will use a third cup of the softener.
I must add here and say that the longer you use the natural food softener, the easier it will be to estimate and eyeball.
I would often see my mother add a little more in vegetables when she feels it’s not yet softening as she wanted.
Word of caution
Let me add a caveat here and say, do not use much food softener. Too much of it and you will not like your food at all. You’d rather have less than more of it in your food. I guess the saying, too much of something is poisonous, can be applied when using food softener. I know this from experience.
I trust you will enjoy this natural food softener at home once you make it.
Enhance your hospitality for the glory of God.
Let’s now get into the process of making our Musherekha or Mukereka.
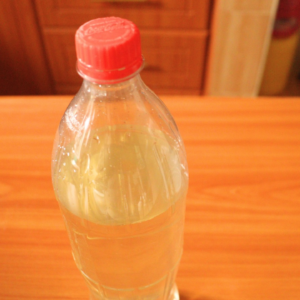
Natural Food Tenderizer From Dried Bean Stalks| Musherekha| Mukereka
Equipment
- 1 wide plate or bowl
- 1 perforated rust--free or plastic can I used a small plastic can that can hold ¾ litre of water
- 1 a suitable bottle to store the tenderizer
- A matchbox or source of fire
- A suitable storage container to store the ash if you have alot on hand.
Ingredients
- Dried bean stalks – Typically gathered after harvesting beans
- Clean water Room temperature
Instructions
- After extracting beans from your dried bean stalks, gather and transfer them to a clear, safe place to burn them without the firespreading dangerously.

- Light them with your match stick or source of fire and burn them all to ashes.
- Allow the ash from the burnt up bean stalks to cool, ensuring that water does not get in contact with the ash. The ash must completely cool and dry.
- Next, gather the ash and keep it in a suitable container for use whenever needed. If you burned a large pile of the bean stalks, your ash can last a long time.
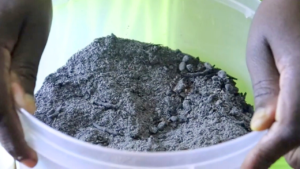
Making Munyu or Musherekha
- Find a suitable rust-free perforated metal or plastic can. (I improvised mine by using a used 500gram fat can as shown. I then made little holes at the bottom of the can like I have done with a nail.For this plastic container, I used a hot nail to make it easier to form small neat holes. Wash and dry it.
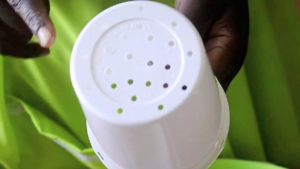
- Add the ash to about ¾ of the container full. Don’t add it loosely, press as you add to ensure the ash is compact.Place it on a suitable wide ball and plate where water can collect at the bottom as it percolates through the ash.
- Pour clean cold water over the ash in the can slowly. Ensure it doesn’t overflow.Because the ash is still dry, as water reduces as it soaks up the ash, keep pouring more water over the ash until it begins to collect at the bottom of the can on the plate. You can then stop pouring.Once it has gone through the ash and collected on the plate or bowl, transfer your can with the ash on a separate clean plate. This first time, the water at the bottom will usually pass through the holes at the bottom of the ash with some ash. It has also not yet had time to percolate through the ash well. Dont use this water you collected just yet. Pour it back over the ash in the can so it can percolate again. Rinse the plate and transfer the can with the wet ash and water back on the plate.You want the water at the bottom of the can as clear as possible. (It may still have traces of ash but it's generally clear, which should be the case this second time.) The wet ash is now held together with the water. The ash doesn't go through the holes this second, and subsequent times when using this particular ash in the can.This is why when you start with ash for the first time, you have to let the water go through the ash twice.
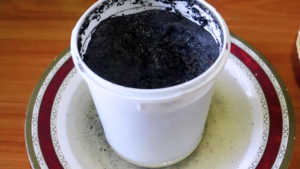
- Once the water has collected on the plate a second time, transfer it to a suitable bottle or container for future storage.Ensure to mark it and keep it out of reach of children. You don't want someone mistaking it for a drink! It usually has an off-white color. Some of the natural food tenderizers will have a golden tinge to them.Usually, before I get rid of this ash, I will do two to three more percolations with water before getting rid of this ash.When you need more Mukereka or natural food softener, repeat the above process with fresh ash.
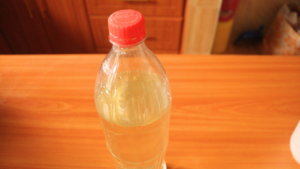
- We now live on a farm. Before then, I would send for one or two litres of the natural food softener or Musherekha that had already been prepared this way. It would last me a long time. My husband and I visited an old friend in Luhya land who told us that this liquid food tenderizer can last for up to a year.If you don’t live on a farm, you can also request a friend for some of the ash and do the above process yourself.
- You now have your liquid food softener or musherekha that is ready to be used in your recipes.I trust you will enjoy your recipes as you use this Munyu. I’m bringing these recipes your way very soon!Enhance your hospitality for the glory of God.
Video

